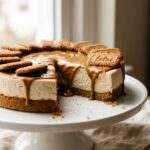
The first time I bought a jar of Biscoff spread, I told myself it was for a recipe. That was a lie. I ate half of it with a spoon standing over my kitchen counter on a Tuesday night. But once the guilt wore off, I did actually make something with the other half — and that’s how this Biscoff cheesecake was born. It’s no-bake, it sets beautifully in the fridge overnight, and every single time I bring it to a gathering, someone corners me and asks for the recipe. I’m giving you the full version here: the crust, the filling, the topping, and every tip I’ve learned from making this more times than I can count.
Table of Contents
Why This Biscoff Cheesecake Works Every Time
The Ingredient That Makes All the Difference
Biscoff spread — also called cookie butter — is doing double duty in this recipe. It goes into the filling and gets drizzled warm over the top. That layering of flavor is what separates this from a generic cream cheese dessert. The spread has a caramelized, spiced depth that comes from the cookies themselves, and when it’s mixed into whipped cream cheese, it creates something that tastes genuinely luxurious without requiring any baking skills.
I tried a version once where I only used the cookies for the crust and left the spread out of the filling entirely. It tasted fine. Just fine. Adding the spread directly into the filling is what makes people close their eyes on the first bite.
The Technique Most People Get Wrong
The biggest mistake I see is not whipping the cream cheese long enough before adding the other ingredients. Cold, under-whipped cream cheese leaves lumps that don’t disappear no matter how much you stir. I beat mine with a hand mixer for a full two minutes until it’s completely smooth and slightly fluffy — then I add the Biscoff spread, then the icing sugar, then the whipped cream.
The second mistake is skipping the chill time. I know it’s tempting. Four hours is the absolute minimum, but overnight gives you clean slices and a filling that holds its shape properly. If you’ve ever made my easy hot cross buns you already know that rushing a dough or a set is the fastest way to ruin something that was almost perfect.
Ingredients & Preparation
Full Ingredient List With Substitution Notes
For the crust:
- 250g (about 30) Biscoff cookies, crushed fine
- 85g unsalted butter, melted
- Pinch of salt
For the filling:
- 600g (about 2½ blocks) full-fat cream cheese, room temperature — don’t use low-fat, it won’t set
- 200g Biscoff spread (smooth)
- 100g icing sugar, sifted
- 300ml heavy whipping cream, cold
- 1 tsp vanilla extract
For the topping:
- 100g Biscoff spread, gently warmed
- 8–10 whole Biscoff cookies for decoration
- Optional: extra crushed cookies for texture
Substitution notes: If you can’t find Biscoff spread, any cookie butter works. For a slightly tangier filling, swap 100g of the cream cheese for full-fat sour cream — it won’t affect the set but adds a nice balance to the sweetness.
Step-by-Step Preparation Before Assembly
Crush your cookies in a zip-lock bag with a rolling pin, or pulse them in a food processor. You want fine crumbs — not powder, but nothing chunky either. Mix the crumbs with melted butter and salt until the texture looks like wet sand.
Press the mixture firmly into the base of a 9-inch springform pan. I use the flat bottom of a measuring cup to pack it really tight — a loose crust falls apart when you slice. Refrigerate the crust for at least 30 minutes before adding the filling.
While the crust chills, take your cream cheese out of the fridge if you haven’t already. Room temperature cream cheese is non-negotiable. Cold cream cheese lumps, and lumps ruin everything.
| Ingredient | Standard Version | Budget Swap |
|---|---|---|
| Cookies (crust) | Biscoff cookies | Graham crackers + ½ tsp cinnamon |
| Spread (filling) | Biscoff smooth spread | Any cookie butter spread |
| Cream cheese | Full-fat Philadelphia | Any full-fat block cream cheese |
| Whipping cream | Heavy cream (36%+ fat) | Double cream works great too |
Making the Cheesecake Filling and Setting It Up
The Filling Process Step by Step
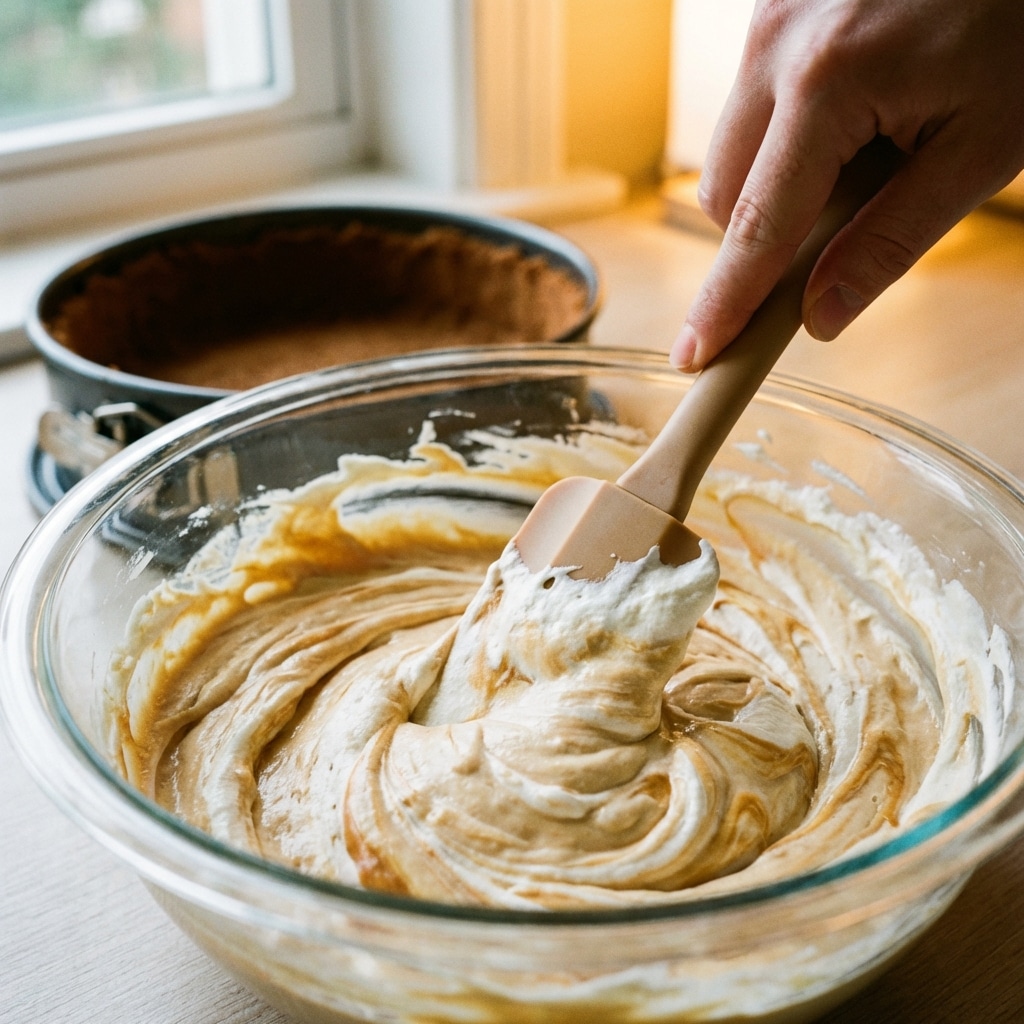
Beat the room-temperature cream cheese with a hand mixer on medium-high for two full minutes. It should look smooth and slightly airy before you add anything else. Add the Biscoff spread and beat again for one minute. Add the icing sugar and vanilla, then mix on low just until combined — don’t overwork it at this stage.
In a separate cold bowl, whip the heavy cream to stiff peaks. This takes about three to four minutes with a hand mixer. Fold the whipped cream into the Biscoff mixture in two additions, using a spatula and a gentle folding motion. You want to keep that air in there — it’s what gives the filling its light, mousse-like texture.
Pour the filling over the chilled crust and smooth the top with an offset spatula. Cover with plastic wrap and refrigerate for a minimum of four hours, or overnight.
How to Know When It’s Set Perfectly
Give the pan a gentle shake. The edges should be completely firm, and only the very center should have a slight wobble — similar to a just-set gelatin. If the whole surface moves like liquid, it needs more time.
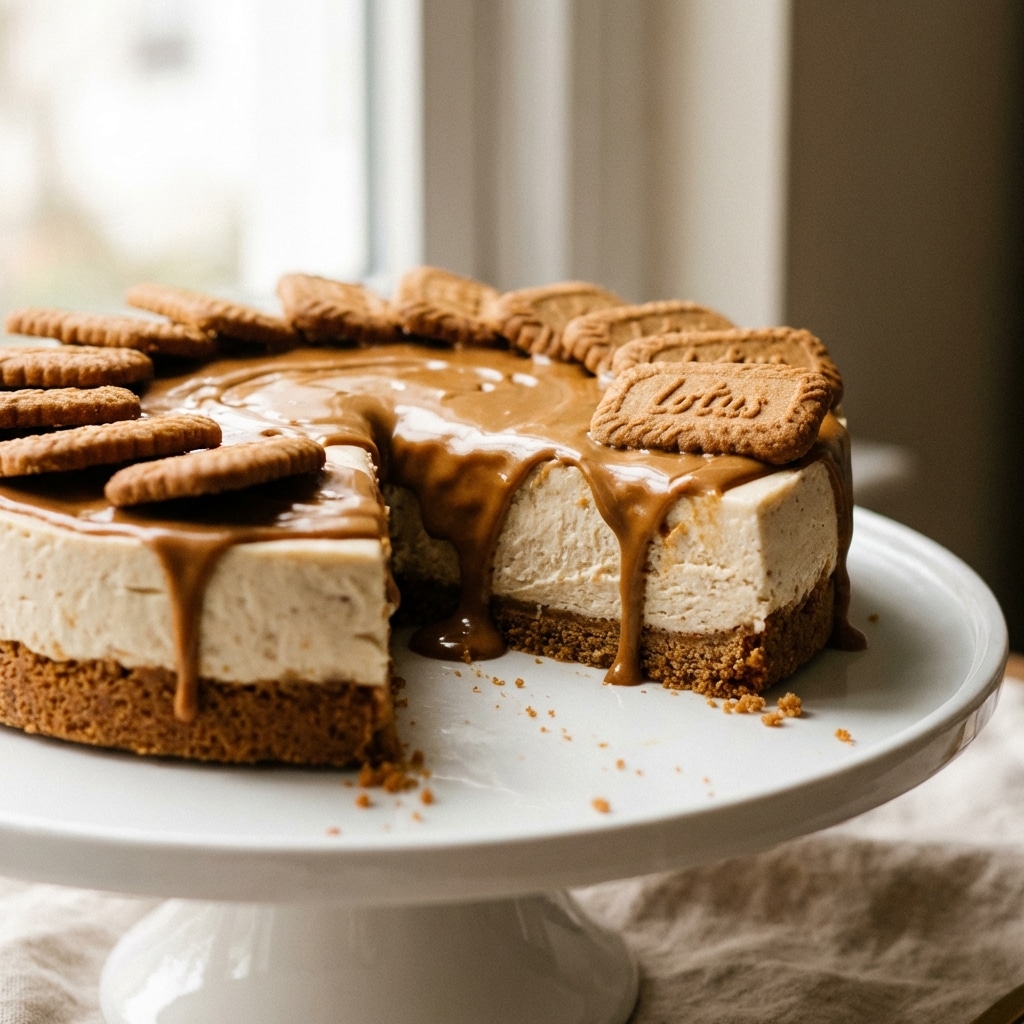
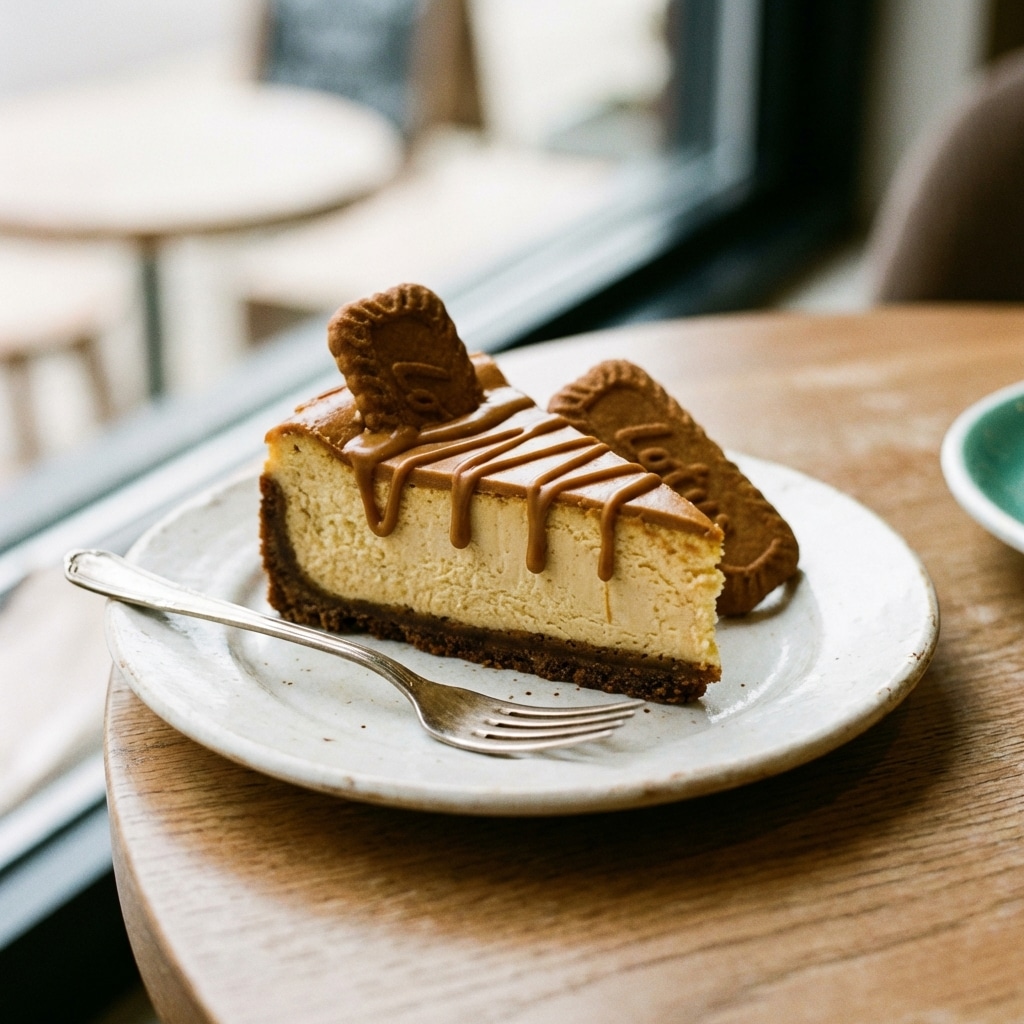
When you’re ready to serve, warm the Biscoff spread in the microwave in 15-second bursts until it’s just pourable — not hot, just fluid. Pour it over the top of the cheesecake and let it drip naturally toward the edges. Work quickly because it sets fast. This is the step that makes it look like it came from a bakery, and honestly it’s the most satisfying part of the whole process. If you love recipes where the topping does all the visual heavy lifting, my brioche chocolate hot cross buns work exactly the same way — simple base, stunning finish.
Serving, Storage, and Variations
How to Serve It and What to Pair With It
Run a sharp knife under hot water, wipe it dry, and slice cleanly — wiping the blade between every cut. This is the only way to get those neat slices you see in photos. Press whole Biscoff cookies around the edges or in the center as decoration before serving.
This cheesecake is rich on its own, so I like pairing it with something simple: fresh berries, a strong coffee, or just a cold glass of milk. If you’re building a dessert spread for a holiday or celebration, it sits beautifully alongside my red velvet hot cross buns — the deep red and the caramel tones look genuinely stunning on the same table.
Storage Tips and Variations Worth Trying
Store covered in the fridge for up to four days. The crust softens slightly by day two, which some people actually prefer — it gets almost fudgy. You can freeze the whole cheesecake or individual slices, tightly wrapped, for up to a month. Thaw overnight in the fridge before serving.
Variations I’ve tested and loved:
- Chocolate Biscoff: Add 2 tablespoons of cocoa powder to the filling and drizzle with melted dark chocolate alongside the Biscoff topping.
- Mini cheesecakes: Press the crust into a lined muffin tin, fill, and chill. No slicing required and they’re perfect for parties.
- Salted caramel swirl: Drop small spoonfuls of salted caramel into the filling before chilling and swirl gently with a skewer.
Frequently Asked Questions
What flavour is Biscoff?
Biscoff has a warm, caramelized flavor with notes of cinnamon, brown sugar, and a subtle spice that’s genuinely hard to pin down. It tastes like the most perfectly spiced shortbread you’ve ever had — slightly toasty, a little sweet, with a lingering warmth that makes it completely addictive.
Is Biscoff a healthy snack?
Not really, and I say that with zero judgment. Biscoff cookies and spread are high in sugar and fat — they’re a treat, not a health food. According to Healthline’s nutrition breakdown of cookie butter, spreads like Biscoff are calorie-dense and best enjoyed in moderation as part of a balanced diet. Enjoy this cheesecake as the indulgence it is.
How do you make a small Biscoff cheesecake?
Halve every ingredient in this recipe and use a 6-inch springform pan instead of a 9-inch one. Everything else stays exactly the same — same technique, same chill time. It makes about four to six servings and is perfect when you don’t want a full-sized cheesecake sitting in your fridge all week.
Make This Cheesecake This Weekend
This Biscoff cheesecake has become my most-requested recipe, and I mean that literally — my neighbor texted me three times in one month asking me to make it again. The no-bake method makes it genuinely approachable, the flavor is completely over the top in the best way, and it looks far more impressive than the effort it actually takes. Start it the night before, and you’ll have something stunning ready to slice by dinner. Make this Biscoff cheesecake once and I promise it’ll earn a permanent spot in your rotation. Leave a comment below and let me know how yours turned out — I read every single one.